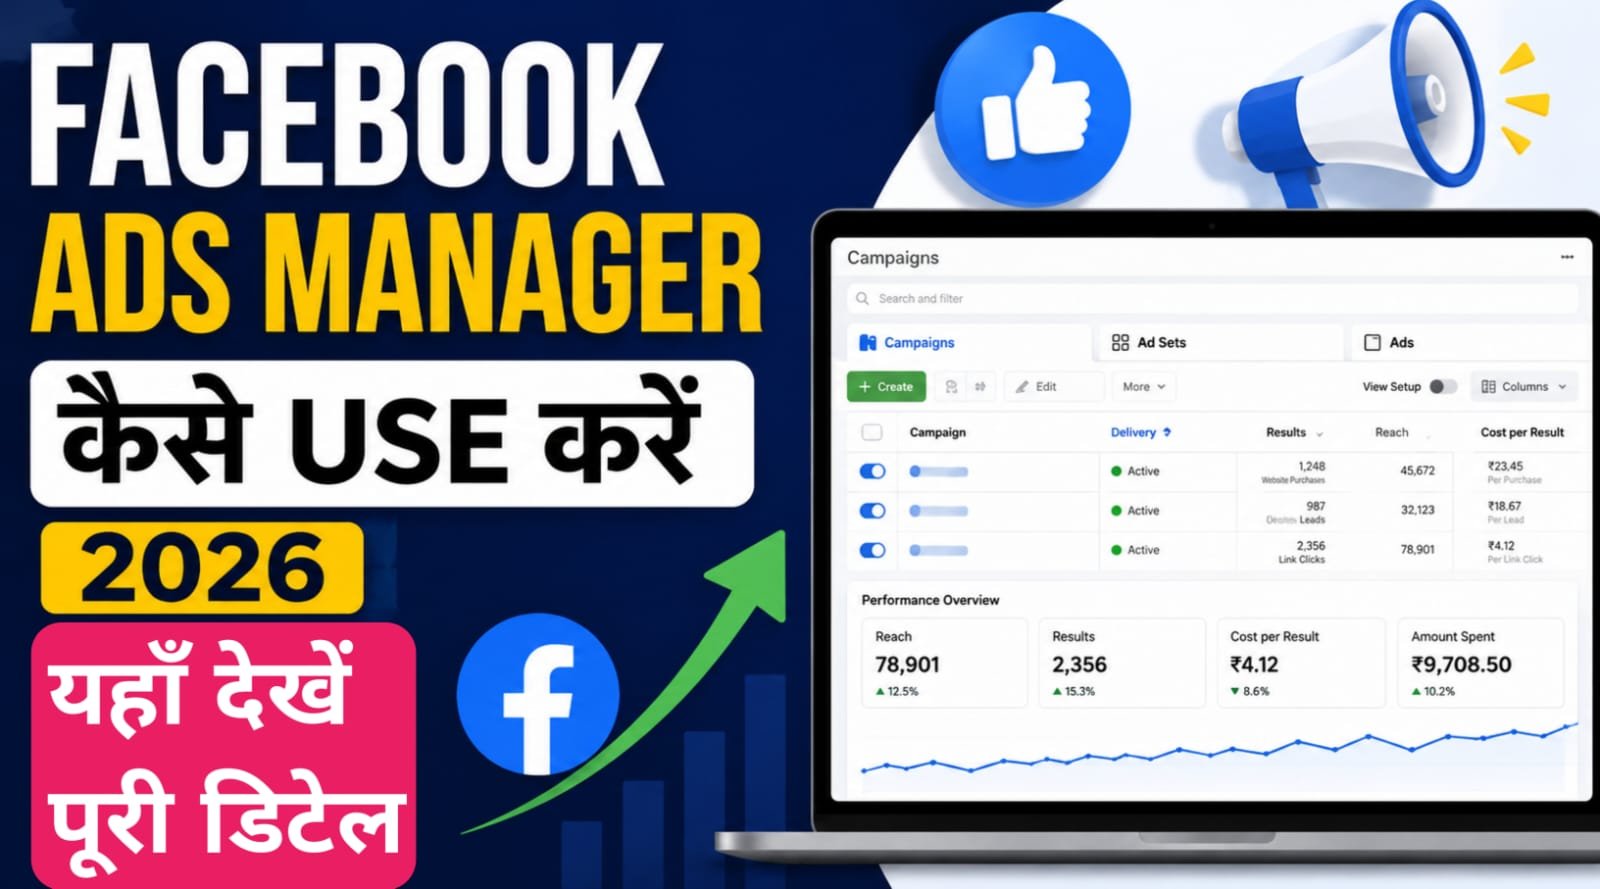
Namaskar dosto apne suna hoga “Facebook ads se business grow hota hai.” Lekin jab aap Ads Manager kholte ho, toh bohot saare options dekhkar dimaag ghoom jaata hai. Campaign, Ad Set, Pixel, Audience — ye sab kya hai?Facebook Ads Manager (ab Meta Ads Manager) ek platform hai jahan aap Facebook, Instagram, Messenger, aur Audience Network par ads bana sakte ho, manage kar sakte ho, aur unka performance dekh sakte ho .
Simple words mein: Ads Manager woh control room hai jahan se aap apna paisa kharch karte ho aur dekhte ho ki kaunsa ad kaam kar raha hai aur kaunsa nahi.
Main aapko step-by-step bataunga — Ads Manager kaise use karein, campaign kaise banayein, aur apna budget kaise optimize karein. Bilkul basic se.
Chapter 1. Ads Manager Use Karne Se Pehle Ye Ready Rakho
Ads Manager mein seedha jump mat karo. Pehle ye cheezein ready honi chahiye.
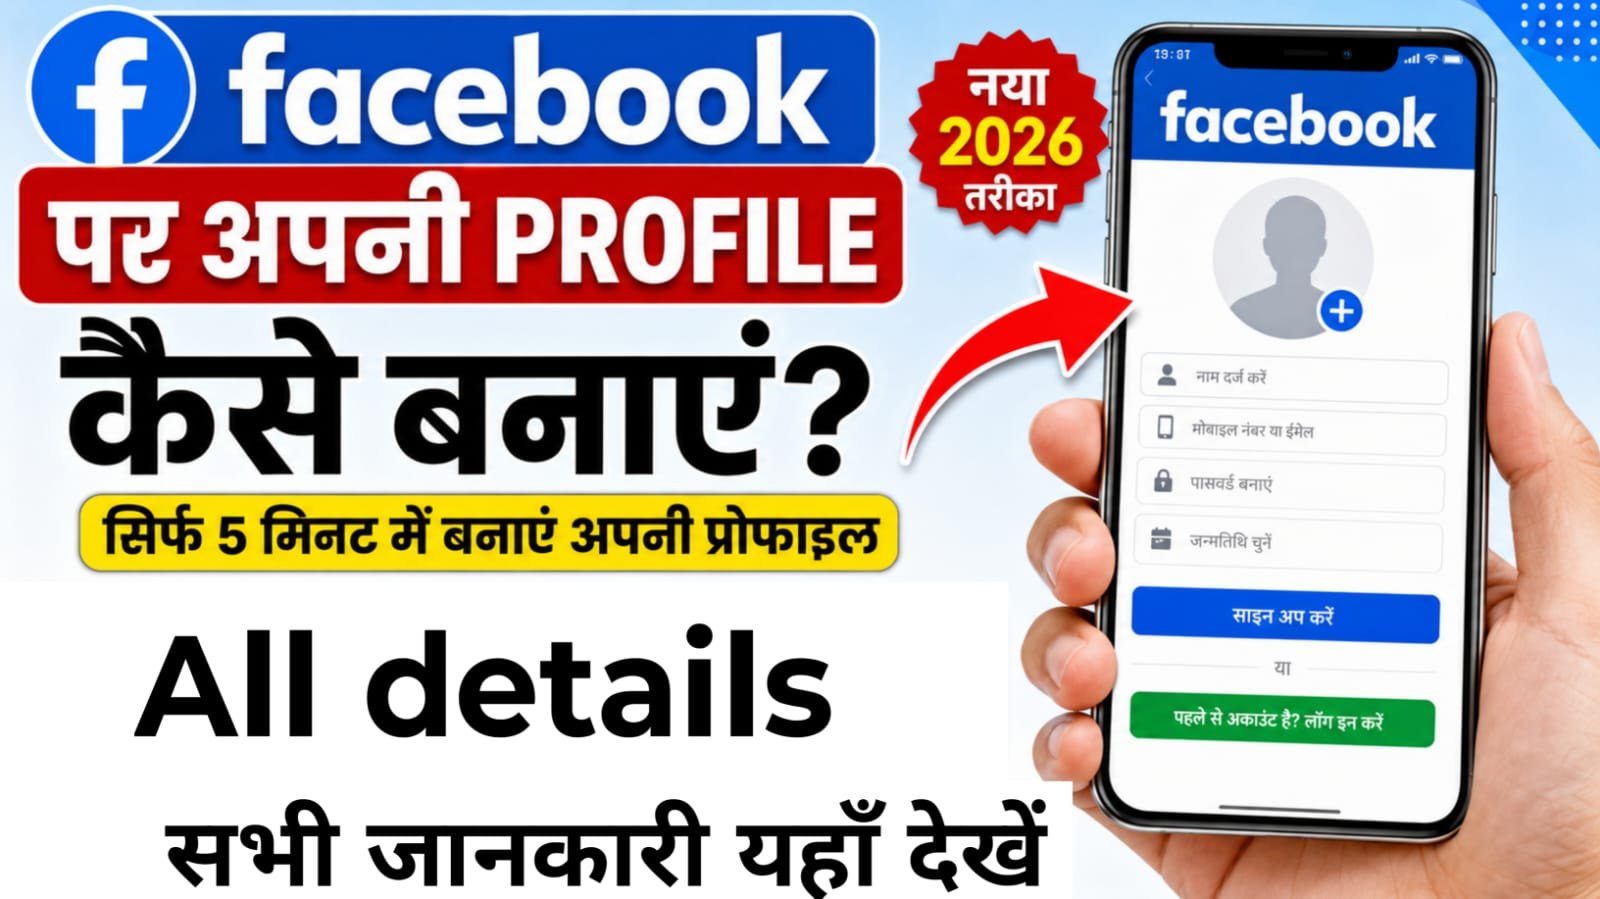
Requirement 1: Facebook Page
Ads Manager use karne ke liye Facebook Page hona zaroori hai. Personal profile se ads nahi chala sakte .
Page kaise banayein: Facebook par “Create Page” option hai. Apna page name, category, aur bio daalo. Profile photo aur cover photo bhi daalo.
Requirement 2: Instagram Account (Optional but Recommended)
Agar Instagram par bhi ads chalana hai toh Instagram account ko Facebook page se connect karo. Iske liye Instagram professional account hona chahiye .
Requirement 3: Payment Method
Ads Manager mein payment method add karna hoga — credit card, debit card, ya UPI (India mein). Billing settings mein jake payment method add karo .
Requirement 4: Meta Pixel (For Tracking)
Agar website par traffic ya sales chahiye toh Meta Pixel install karna zaroori hai. Pixel ek code hai jo aapki website pe lagta hai. Ye track karta hai ki kaun aapki ad click karke website aaya aur kya kiya .
Chapter 2. Ads Manager Ka Structure 3 Levels Ko Samjho
Ads Manager ka structure 3 levels mein bata hai. Isko samajhna bohot zaroori hai, warna aap confuse ho jaoge .
Level 1: Campaign (सबसे ऊपर)
Yahan aap apna objective select karte ho — aap ad se kya chahte ho?
- Awareness: Logon ko apne brand ke baare mein batana
- Traffic: Logo ko apni website ya landing page pe bhejna
- Engagement: Likes, comments, shares, messages lena
- Leads: Form bharkar contact details lena
- Sales: E-commerce purchases ya online bookings
Level 2: Ad Set (बीच में)
Yahan aap decide karte ho:
- Kaun dekhega (audience targeting)
- Kitna paisa lagana hai (budget)
- Kab tak chalana hai (schedule)
- Kahan dikhega (placements — Facebook feed, Instagram, etc.)
Level 3: Ad (सबसे नीचे)
Yahan aap actual creative daalte ho:
- Image ya video
- Headline aur primary text
- Call-to-action button (Shop Now, Learn More, etc.)
Chapter 3: Pehla Campaign Kaise Banayein — Step-by-Step
Chaliye, practical karte hain. Main ek Sales campaign banane ka tarika bata raha hoon.
Step 1: Ads Manager Mein Jao
- Facebook Business Suite kholo
- Left side menu mein “Ads Manager” click karo
- “Create” button click karo (green color ka)
Step 2: Campaign Objective Select Karo
6 objectives hain 2026 mein :
- Awareness — Brand awareness, Reach
- Traffic — Website visits, Landing page views
- Engagement — Post engagement, Page likes, Event responses
- Leads — Instant forms, Calls, Messages
- App promotion — App installs, App events
- Sales — Website purchases, Catalog sales
Agar e-commerce hai toh “Sales” choose karo. Agar service business hai toh “Leads” choose karo .
Step 3: Campaign Details Bharo

- Campaign name do (e.g., “Summer Sale – June 2026”)
- Advantage campaign budget — ON rakhne do (Facebook automatically budget distribute karega better performing ad sets mein)
- Special ad categories — agar housing, employment, ya credit ads nahi hai toh “None” select karo
Step 4: Ad Set Banayein — Audience Targeting
Yahan aap decide karte ho ki kaun aapki ad dekhega.
Location: India select karo (ya specific cities — Mumbai, Delhi, Bangalore)
Age: 18-65+ (apne product ke hisaab se)
Gender: All (ya specific agar product gender-specific hai)
Detailed Targeting: Interests, behaviors, demographics — yahan aap apne audience ko refine kar sakte ho .
Example: Agar aap fitness product sell kar rahe ho toh “Fitness”, “Gym”, “Weight Loss” jaise interests daalo.
Custom Audiences: Agar aapke paas pehle se customer list hai, website visitors hain, ya email subscribers hain — toh unhe target karo. Custom audience se retargeting karna bohot effective hai .
Lookalike Audiences: Agar aapke paas existing customers hain toh Lookalike audience banao. Facebook aise log dhundega jo aapke existing customers jaise hain .
Step 5: Budget Set Karna
Do types ke budgets hain :
Daily Budget: Roz utna paisa kharch hoga. Facebook average maintain karega. Kabhi kam kabhi zyada, lekin average daily budget ke aas-paas.
Lifetime Budget: Poori campaign ke liye total budget. Facebook apne hisaab se distribute karega.
Beginners ke liye: ₹200-₹500 daily budget se shuru karo. Budget zyada mat rakho pehle din se.
Step 6: Placements Select Karna
Do options hain :
Advantage+ Placements (Recommended): Facebook khud decide karega ki ad kahan dikhegi — Facebook Feed, Instagram Feed, Stories, Reels, etc. Algorithm better performance wali placements mein budget daalega.
Beginners ke liye: Advantage+ Placements select karo.
Step 7: Ad Create Karna — Creative aur Copy
Yahan actual ad banate ho jo log dekhenge.
Format choose karo :
- Single image/video: Simple, ek image ya video
- Carousel: 2-10 images/videos, swipe kar sakte hain
- Collection: E-commerce products showcase karne ke liye
Creative upload karo:
- Image/Video daalo (Facebook ad specs ke hisaab se)
- Primary text likho (jo log ad mein dekhenge)
- Headline likho (bold mein dikhta hai)
- Description likho (optional)
- Call-to-action button choose karo (Shop Now, Learn More, Sign Up, etc.)
Best practices for creatives :
- Video ads consistently outperform static images
- Reels placements deliver 30-40% lower CPMs compared to feed image ads
- First 3 seconds must hook the viewer
- Include captions for sound-off viewing (80%+ mobile users watch without sound)
Step 8: Publish Karna
Sab kuch set hai? “Publish” button click karo.
Facebook ad review process start ho jayega. Ads Manager automatically review ke liye bhejta hai . Review typically minutes mein hota hai, lekin 24 hours tak lag sakta hai.
Chapter 4. CBO vs ABO — Budget Strategy Ka Selection
2026 mein advertisers do budget strategies use karte hain. Dono ke alag use cases hain .
CBO (Campaign Budget Optimization)
- Aap campaign level par budget set karte ho
- Facebook decides kaise distribute karna hai ad sets ke beech
- Best for: Scaling winners, broad targeting, multiple placements
- Facebook algorithm automatically better performing ad sets mein zyada budget daalta hai
ABO (Ad Set Budget Optimization)
- Aap har ad set ke liye alag budget set karte ho
- Aapka control, Facebook interfere nahi karta
- Best for: Testing new creatives, comparing audiences, limited budgets
What experts recommend in 2026 :
- ABO for testing: Jab aap naye creatives test kar rahe ho, ek ad set mein ek creative rakho, equal budgets do. Clean data milega.
- CBO for scaling: Jab aapko winner creative mil jaye, usse CBO campaign mein daalo. Facebook scale karega.
- Hybrid approach: Testing ke liye ABO, scaling ke liye CBO. Ye sabse common approach hai experienced media buyers ki.
Chapter 5. Audience Targeting 3 Types Jo Jan Lena Chahiye
Ads Manager mein audience targeting ke 3 main types hain. Har type ka alag use case hai .
Type 1: Core Audiences
Aap khud define karte ho — location, age, gender, interests, behaviors.
Use when: Aap naye customers dhundh rahe ho, cold audience target kar rahe ho.
Example: “Mumbai mein rehne wale 25-35 saal ke log jinko fitness mein interest hai”
Type 2: Custom Audiences
Aap apne existing data se audience banate ho — website visitors (via Pixel), customer list (email/phone), app users, Instagram/Facebook engagers.
Use when: Aap retargeting kar rahe ho, existing customers ko wapas lana chahte ho, ya cart abandoners ko yaad dilana chahte ho .
Type 3: Lookalike Audiences
Aap ek source audience (custom audience) dete ho. Facebook naye log dhundta hai jo source audience jaise hain.
Size: 1% (most similar, smaller) to 10% (less similar, broader) .
Chapter 6. Creative Testing Kaise Karein (2026 Best Practices)
2026 mein creative testing is the game. Agar aap test nahi kar rahe, aap落后 ho rahe ho .
Structure A (Recommended): One Creative Per Ad Set
- Single ABO campaign
- Har creative ka apna ad set
- Same audience across all ad sets
- Equal daily budget for each
Kyu? Jab creative A ka 2x better CPA hai creative B se, aur dono ko same budget mila hai same audience ke against — tab aapko real data milta hai. Agar creative A ko zyada budget mila because Facebook ka algorithm usse prefer karta hai — biased data hai .
How many creatives to test at once: 4-6 creatives per batch. Zyada karoge toh budget split ho jayega aur kisi ko enough data nahi milega .
How long to test: 7 days minimum. Weekend performance different hota hai weekday se. Agar aap Tuesday launch karo aur Friday ko band karo — galat decision ho sakta hai .
Meta’s Built-in Creative Testing :
- Test up to 5 variations of same ad
- Run for fixed duration
- Compare performance based on cost per result
- 3-7 days mein pata chal jata hai kaunsa creative winner hai
Chapter 7: Facebook Pixel — Kya Hai Aur Kaise Lagayein?
Pixel aapki website aur Facebook ads ke beech bridge hai. Bina Pixel ke aap nahi dekh sakte ki ad se sale hui ya nahi .
Pixel kya track karta hai:–
- Page views
- Add to cart
- Purchases
- Leads form submissions
- Custom events (aap define kar sakte ho)
Pixel kaise lagayein :–
- Ads Manager mein “Events Manager” mein jao
- “Connect Data Sources” → “Web” → “Meta Pixel” select karo
- Pixel ka naam do aur create karo
- Code copy karo aur apni website ke header mein paste karo (ya Google Tag Manager se)
- Pixel Helper Chrome extension se check karo ki kaam kar raha hai ya nahi
Chapter 8. Ads Manager Mein Reporting Kaise Check Karein Performance?
Ads banane ke baad regularly check karna zaroori hai ki kaunsi ad kaam kar rahi hai.
Key metrics to track :
CPM (Cost Per 1000 Impressions): Kitna paisa lag raha hai 1000 logo tak pahunchne mein. India mein CPM generally lower hota hai US/UK se.
CTR (Click-Through Rate): Jitno ne ad dekhi, kitno ne click kiya. Good CTR = 1-3% for most industries. Below 0.5%? Thumbnail ya copy change karo.
CPC (Cost Per Click): Har click ki cost. India mein ₹2-₹10 common hai depending on industry.
ROAS (Return on Ad Spend): Har ₹1 kharch karne par kitna ₹ wapas aaya. 3x+ ROAS generally considered good.
Chapter 9. Ad Review Process Ad Approve Kyun Nahi Ho Rahi?
Facebook har ad review karta hai before it goes live. Review typically minutes mein hota hai, lekin 24 hours tak bhi lag sakta hai .
Ad reject kyun hoti hai?
- Misleading claims
- Prohibited content (weapons, drugs, etc.)
- Discriminatory practices (housing, employment, credit ads mein specific rules)
- Low quality or disruptive content
What to do if ad is rejected:–
- Ads Manager mein notification check karo exact reason ke liye
- Ad edit karo jo policy violate kar raha hai
- Agar aapko lagta hai galat reject hui hai — request review karo
Chapter 10. 2026 Mein Naye Features
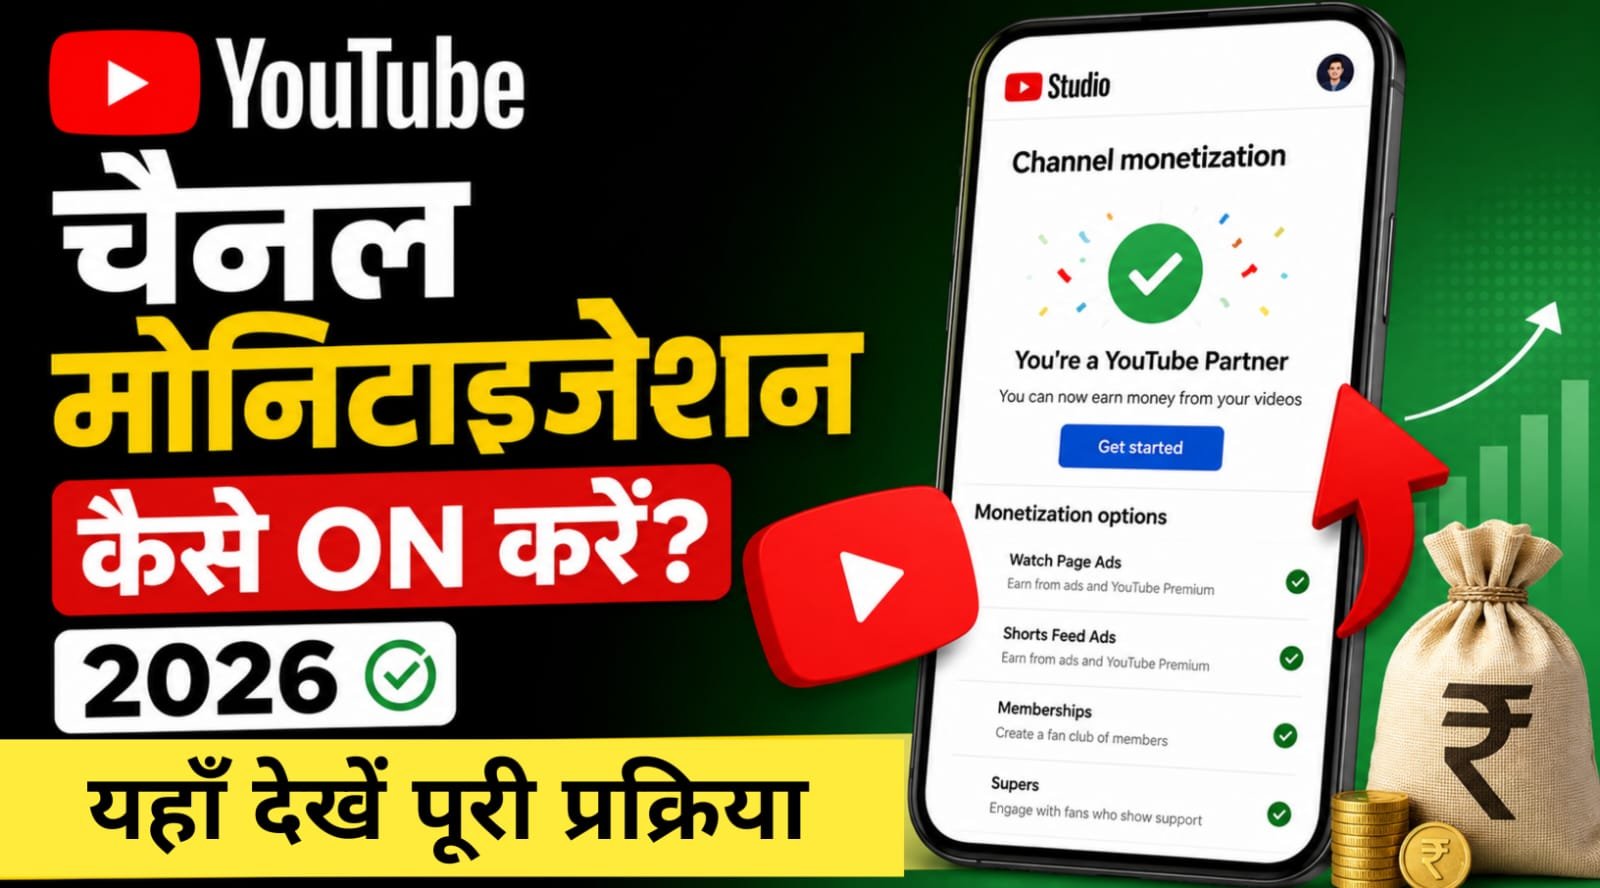
2026 mein Meta ne Ads Manager mein kai naye features launch kiye hain.
Meta AI Business Assistant :-
Ab Ads Manager mein AI assistant available hai globally. Campaign setup, optimization, aur reporting mein help karta hai.
Advantage+ Campaigns Default :-
November 2025 se Advantage+ automation tools default option ban gaye hain naye campaigns ke liye. Meta’s AI uses real-time data to fine-tune your ads across entire campaign — audience targeting se leke creative assets tak .
AI-Powered Pixel Setup :-
Meta Pixel setup now has AI-powered configuration aur one-click Conversions API solution. Zero technical skills required.
Threads Ads :-
Meta rolled out ads on Threads globally in early 2026. Ads Manager mein ab Threads placements bhi available hain.
Common Mistakes (Jo Beginners Karte Hain)
Wrong objective selection: Traffic choose kar liya lekin sales chahiye. Algorithm confusion mein padh jaata hai. Choose the objective that matches your actual business goal .
Audience too narrow: 1,000 logo ki audience banayi — Facebook ko optimization ke liye data nahi milega. Start broader, then refine.
No Pixel installed: Bina Pixel ke pata hi nahi chalega ki ad se sale hui ya nahi. Installing Pixel is the most important tracking step .
Testing with CBO: Creative test kar rahe ho toh CBO use kiya. Facebook ne budget ek ad set mein daal diya. No clean data. Test with ABO, scale with CBO .
Giving up too early: 2 din mein ad band kar diya kyunki results nahi aaye. Facebook algorithm needs time to learn. Give it at least 3-5 days minimum, preferably 7 days.
No ad creative testing: Same ad chalate raho months tak. Audience fatigue ho jati hai. Regularly test new creatives.
Conclusion. Ads Manager Seekhne Ke Baad Kya?
Ads Manager ek powerful tool hai. Lekin tool aapko results nahi dega — aapka strategy dega.
30-day learning plan:–
Week 1: Setup everything — Page, Pixel, Payment method
Week 2: Run first small campaign (₹200-500/day budget). Test one audience, one creative
Week 3: Analyze results. What worked? What didn’t?
Week 4: Scale winners. Kill losers. Add new tests.